SCM Magnum Force Cutters!
-
SCM Magnum Force I
-
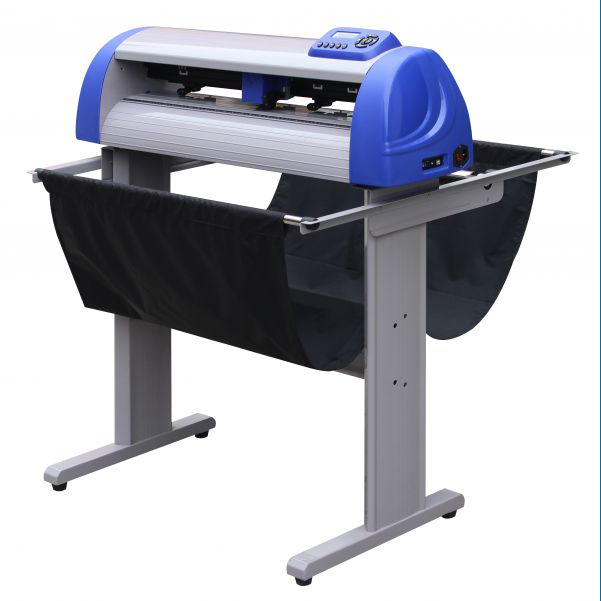
SCM Magnum Force II
-

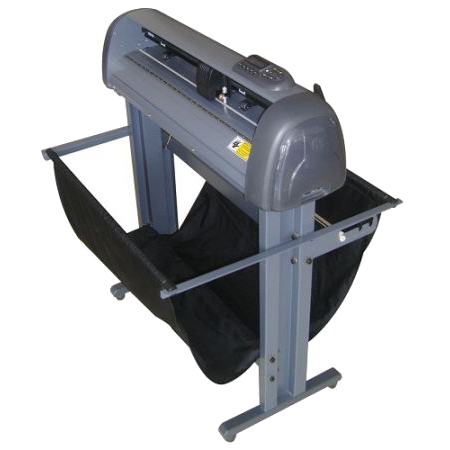
SCM Mini Mag
SCM Magnum Force I
SCM Magnum Force II
SCM Mini Mag
1) Your question may already be answered. Click on the frequently asked questions link at the top for answers to frequently asked questions.
2) Click on the Live Help live chat button at the bottom right corner of the page. Our technicians will help you real time. Technicians are usually available 8AM - 5PM Monday - Friday, 6PM to 9PM Monday - Thursday, 10AM - 5 PM Saturday - Sunday.
3) Click on the Help Desk button at the top of the page and submit a help desk ticket. Your issue will be tracked by our ticketing system and you will receive contact from a technician.
4) Click on the Contact Us button at the top of the page and fill out the contact us form. A support technician will respond to your request for support
5) Email us at support@scmmagsupport.com and a technician will respond promptly.
6) For sales inquiries, please visit this page: SCM System Inc.
7) If a remote session is needed, please download and install ![]() here. You will get an id number and a passcode which our technicians will need to access your system.
here. You will get an id number and a passcode which our technicians will need to access your system.
When you receive your cutter, open the box from the top being careful not to penetrate the box with a razor blade so as not to scratch the contents inside. The banding straps will need to be cut with a pair of scissors or a cutting tool.
Contained under one of the box flaps on the top there may be documentation. Please save all documentation that comes with your Magnum Force cutter. Additional documentation may be contained in the box with the cutter or inside a smaller box packaged with the cutter.
Your Magnum Force Cutter will contain your cutter along with a small box of supplies such as the blade holder, blades, USB cable, software, etc.
Your stand and your basket will be in a separate box in the bottom of the cutter box, underneath the cutter.
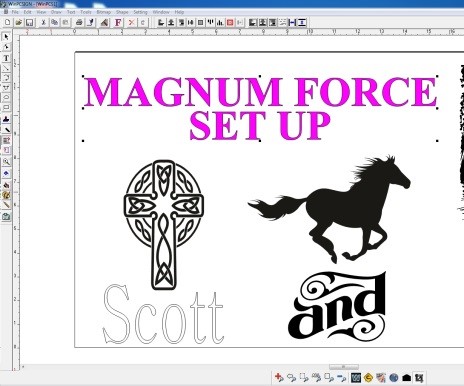
Information and tutorials on the DragonCut cutter software is available here:
Magnum Force Set Up
Setup your cutter on the stand, install your basket.
Plug your cutter into your computer using the USB cable. If you need a longer cable you can purchase one. Any high quality standard USB-Printer cable will work.
Plug in the power cord for the cutter. Turn your cutter on with the power switch at the end of the cutter. The cutter will go through a short setup and the LCD will glow blue.
Your cutter will use default drivers included in Windows. These drivers will self-install. Your cutter is now communicating with your computer.
Your cutter is oriented such that as you look at the front, the blue LCD display is to the right.
Blast Mask rolls are placed on the stand rails in the back (alternatively you may place a roll bar through the Blast Mask roll. Blast Mask is then fed from the back to the front of the cutter and as the Blast Mask cuts, Blast Mask comes out towards you. In general, Blast Mask is used from the right side to the left side. Positive X and Y go from right to left and from front to back.
Tracking is the ability of a Magnum Force Cutter to be able to return to the correct point after cutting out a loop. It is easy for the Magnum Cutter to track over short distances and small loops of a few inches or so however, if your loops become substantially large such as 10 feet or so you may need to adjust some things so your loops close and your Magnum Force Cutter maintains its tracking.
Here are some parameters you will need to adjust when your loops exceed 10 feet or so.
1) Dirt and dust that get deposited on both the rubber wheels on the top rollers and on the grit rollers on the bottom will reduce the friction between the wheels and the Blast Mask. The cutter depends on a high friction factor between the roller wheels and the Blast Mask to maintain a good track. Usually, what happens is that when a long cut is made, the Blast Mask hits the floor. When it hits the floor it picks up substantial debris (lint, dust, etc) due to static charge. This debris deposits itself on the rollers and makes them slippery. In addition, prior to any long cutting, we recommend cleaning the top and bottom rollers. The top rollers can be cleaned with a cotton cloth with some ammonia based cleaner (such as glass cleaner). The bottom rollers can be cleaned with a dry tooth brush. Be careful not to deposit cloth fibers on the bottom roller.
2) In order to increase the friction force between the Blast Mask and the rollers we recommend increasing the force on the top rollers. This can be done with the adjustment nuts on the back of the rollers.
3) Another factor that decreases the tracking ability of a cutter is the speed which it is run at. When cutting at high speed, the rollers will depart more kinetic energy into the Blast Mask. When the cutter has to stop the Blast Mask from a high speed condition, some of that kinetic energy may result in slippage between the Blast Mask and the rollers. To reduce the Blast Mask inertia and reduce slippage between the roller wheels and the Blast Mask it is advisable to reduce the cutting speed. In general, cutting at slower speed will result in better tracking.
4) Roll out your Blast Mask in advance and use a sharp blade. By doing this, you can reduce the force against the roller bar and thus reduce any slippage that would occur due to these forces. By rolling out your Blast Mask you will also insure that your Blast Mask is adequately lined up to the cutter over the distance you expect to be cutting.
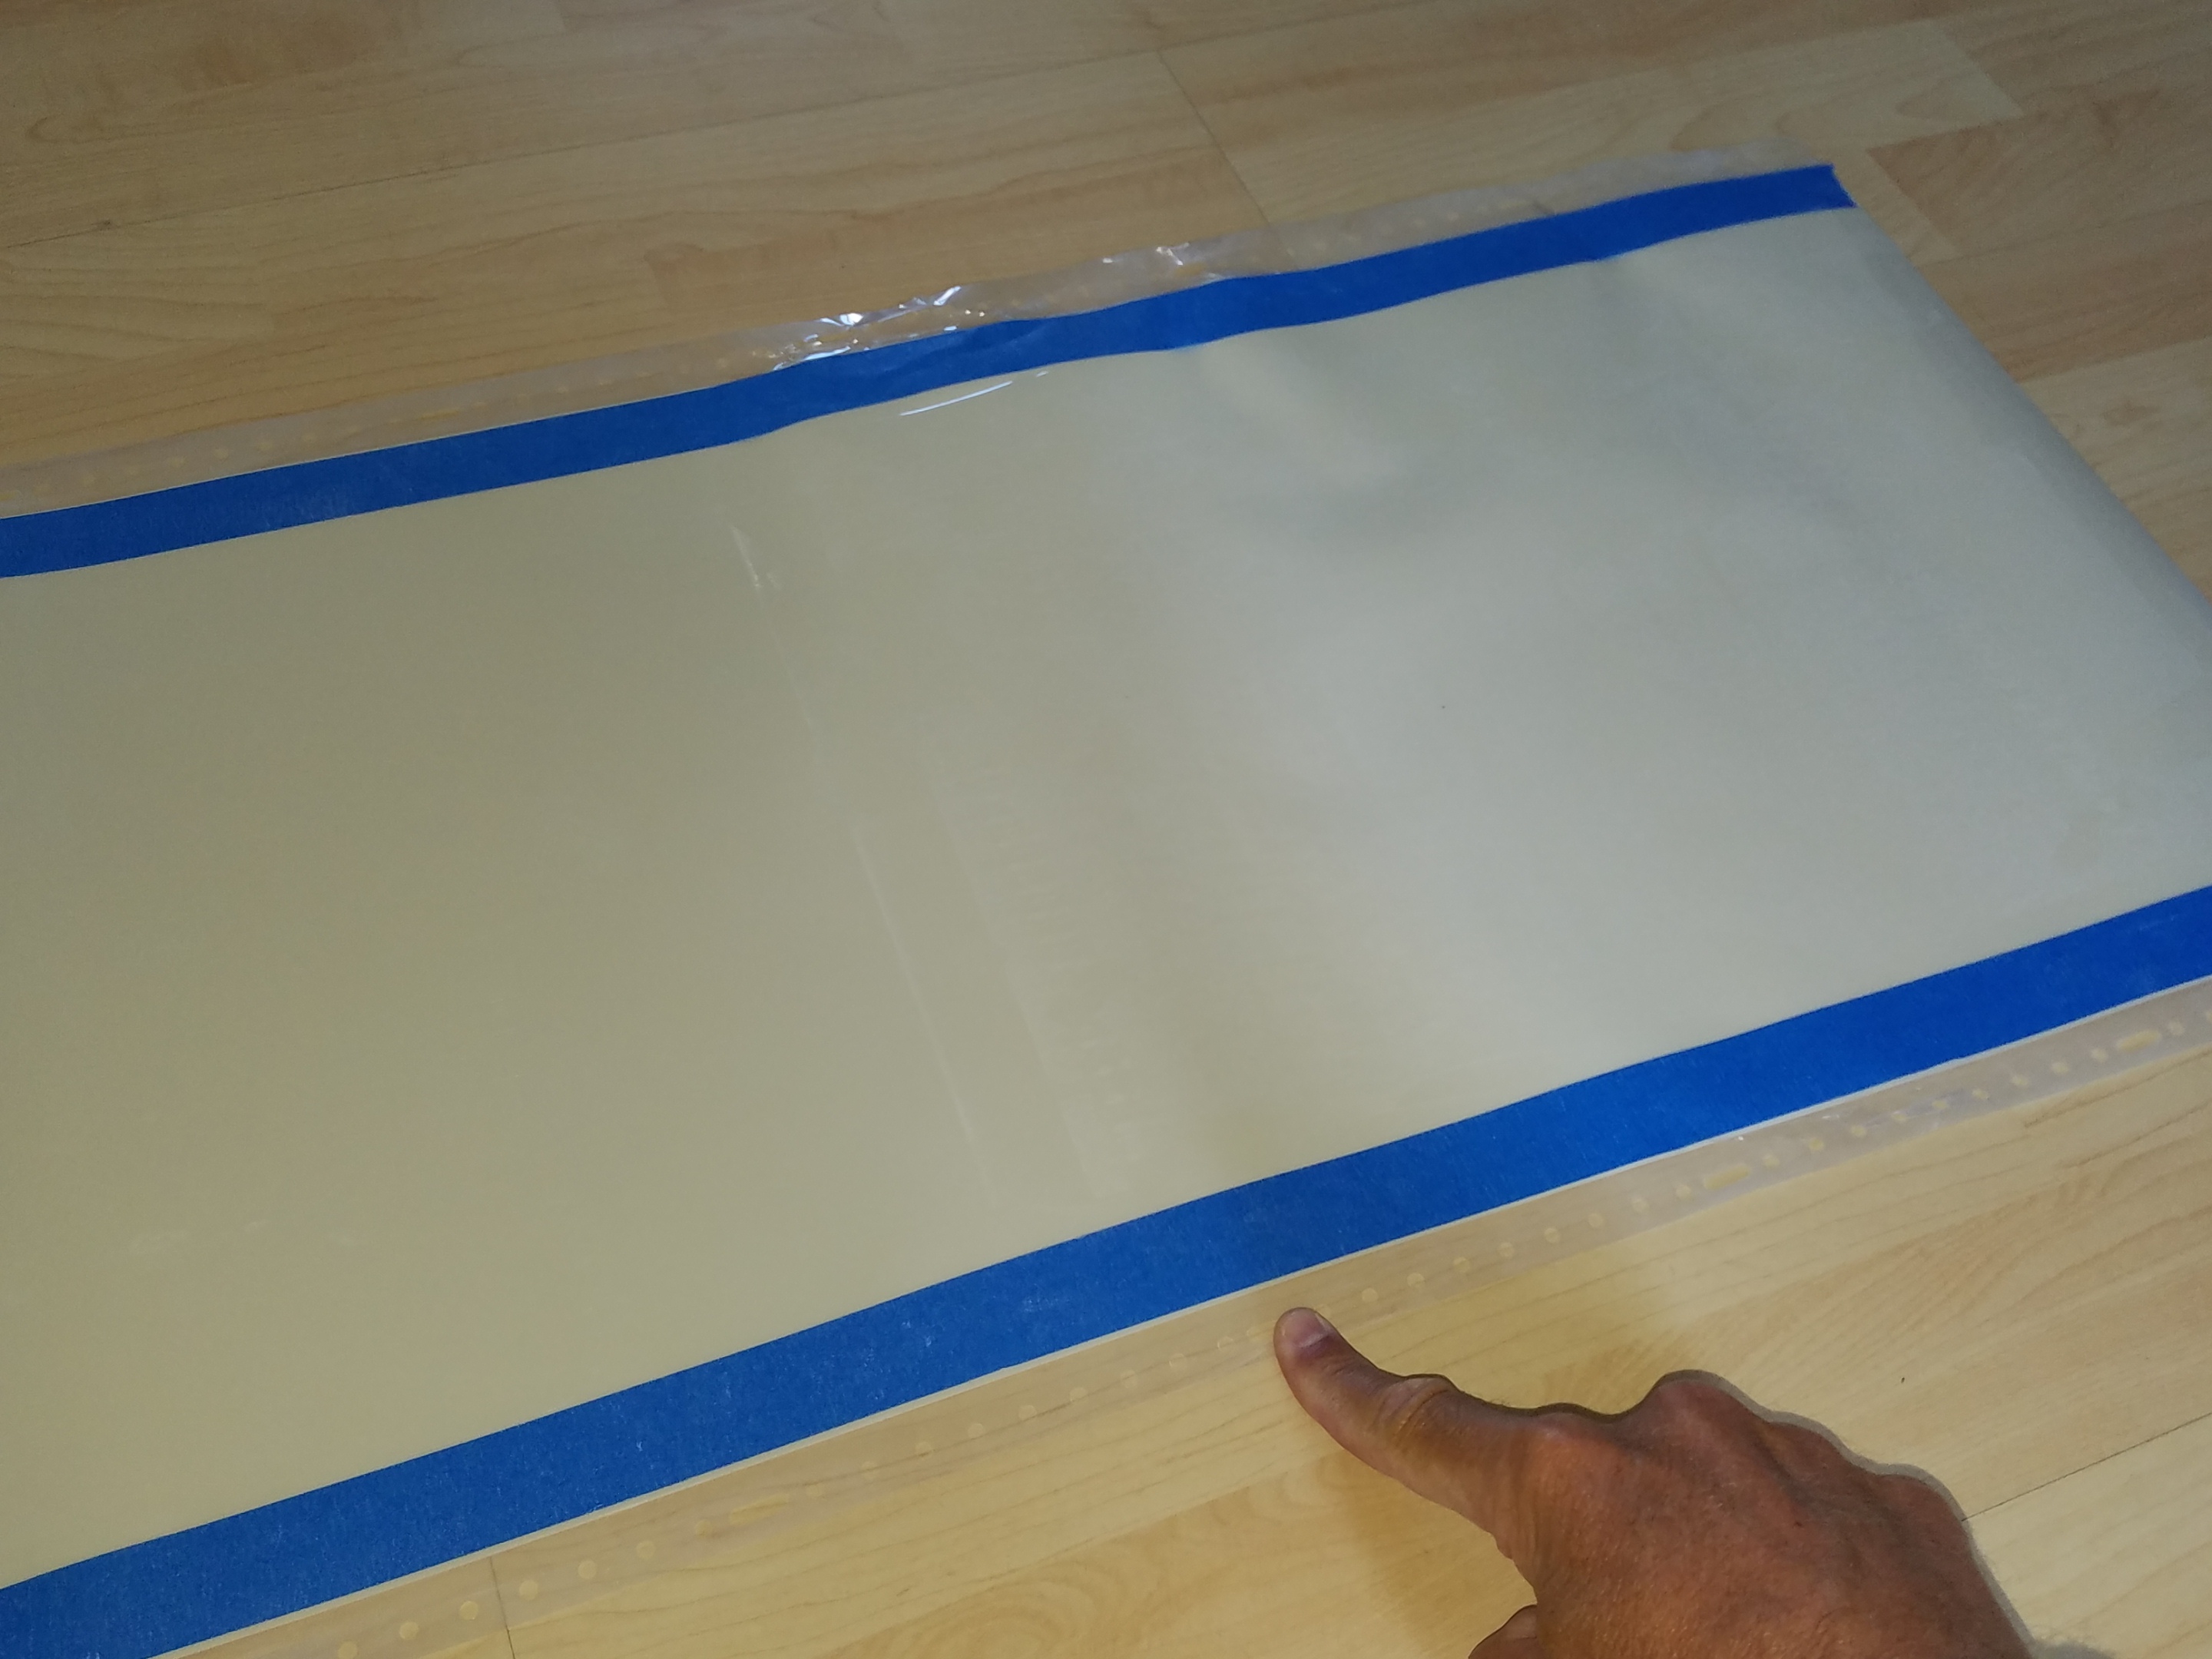
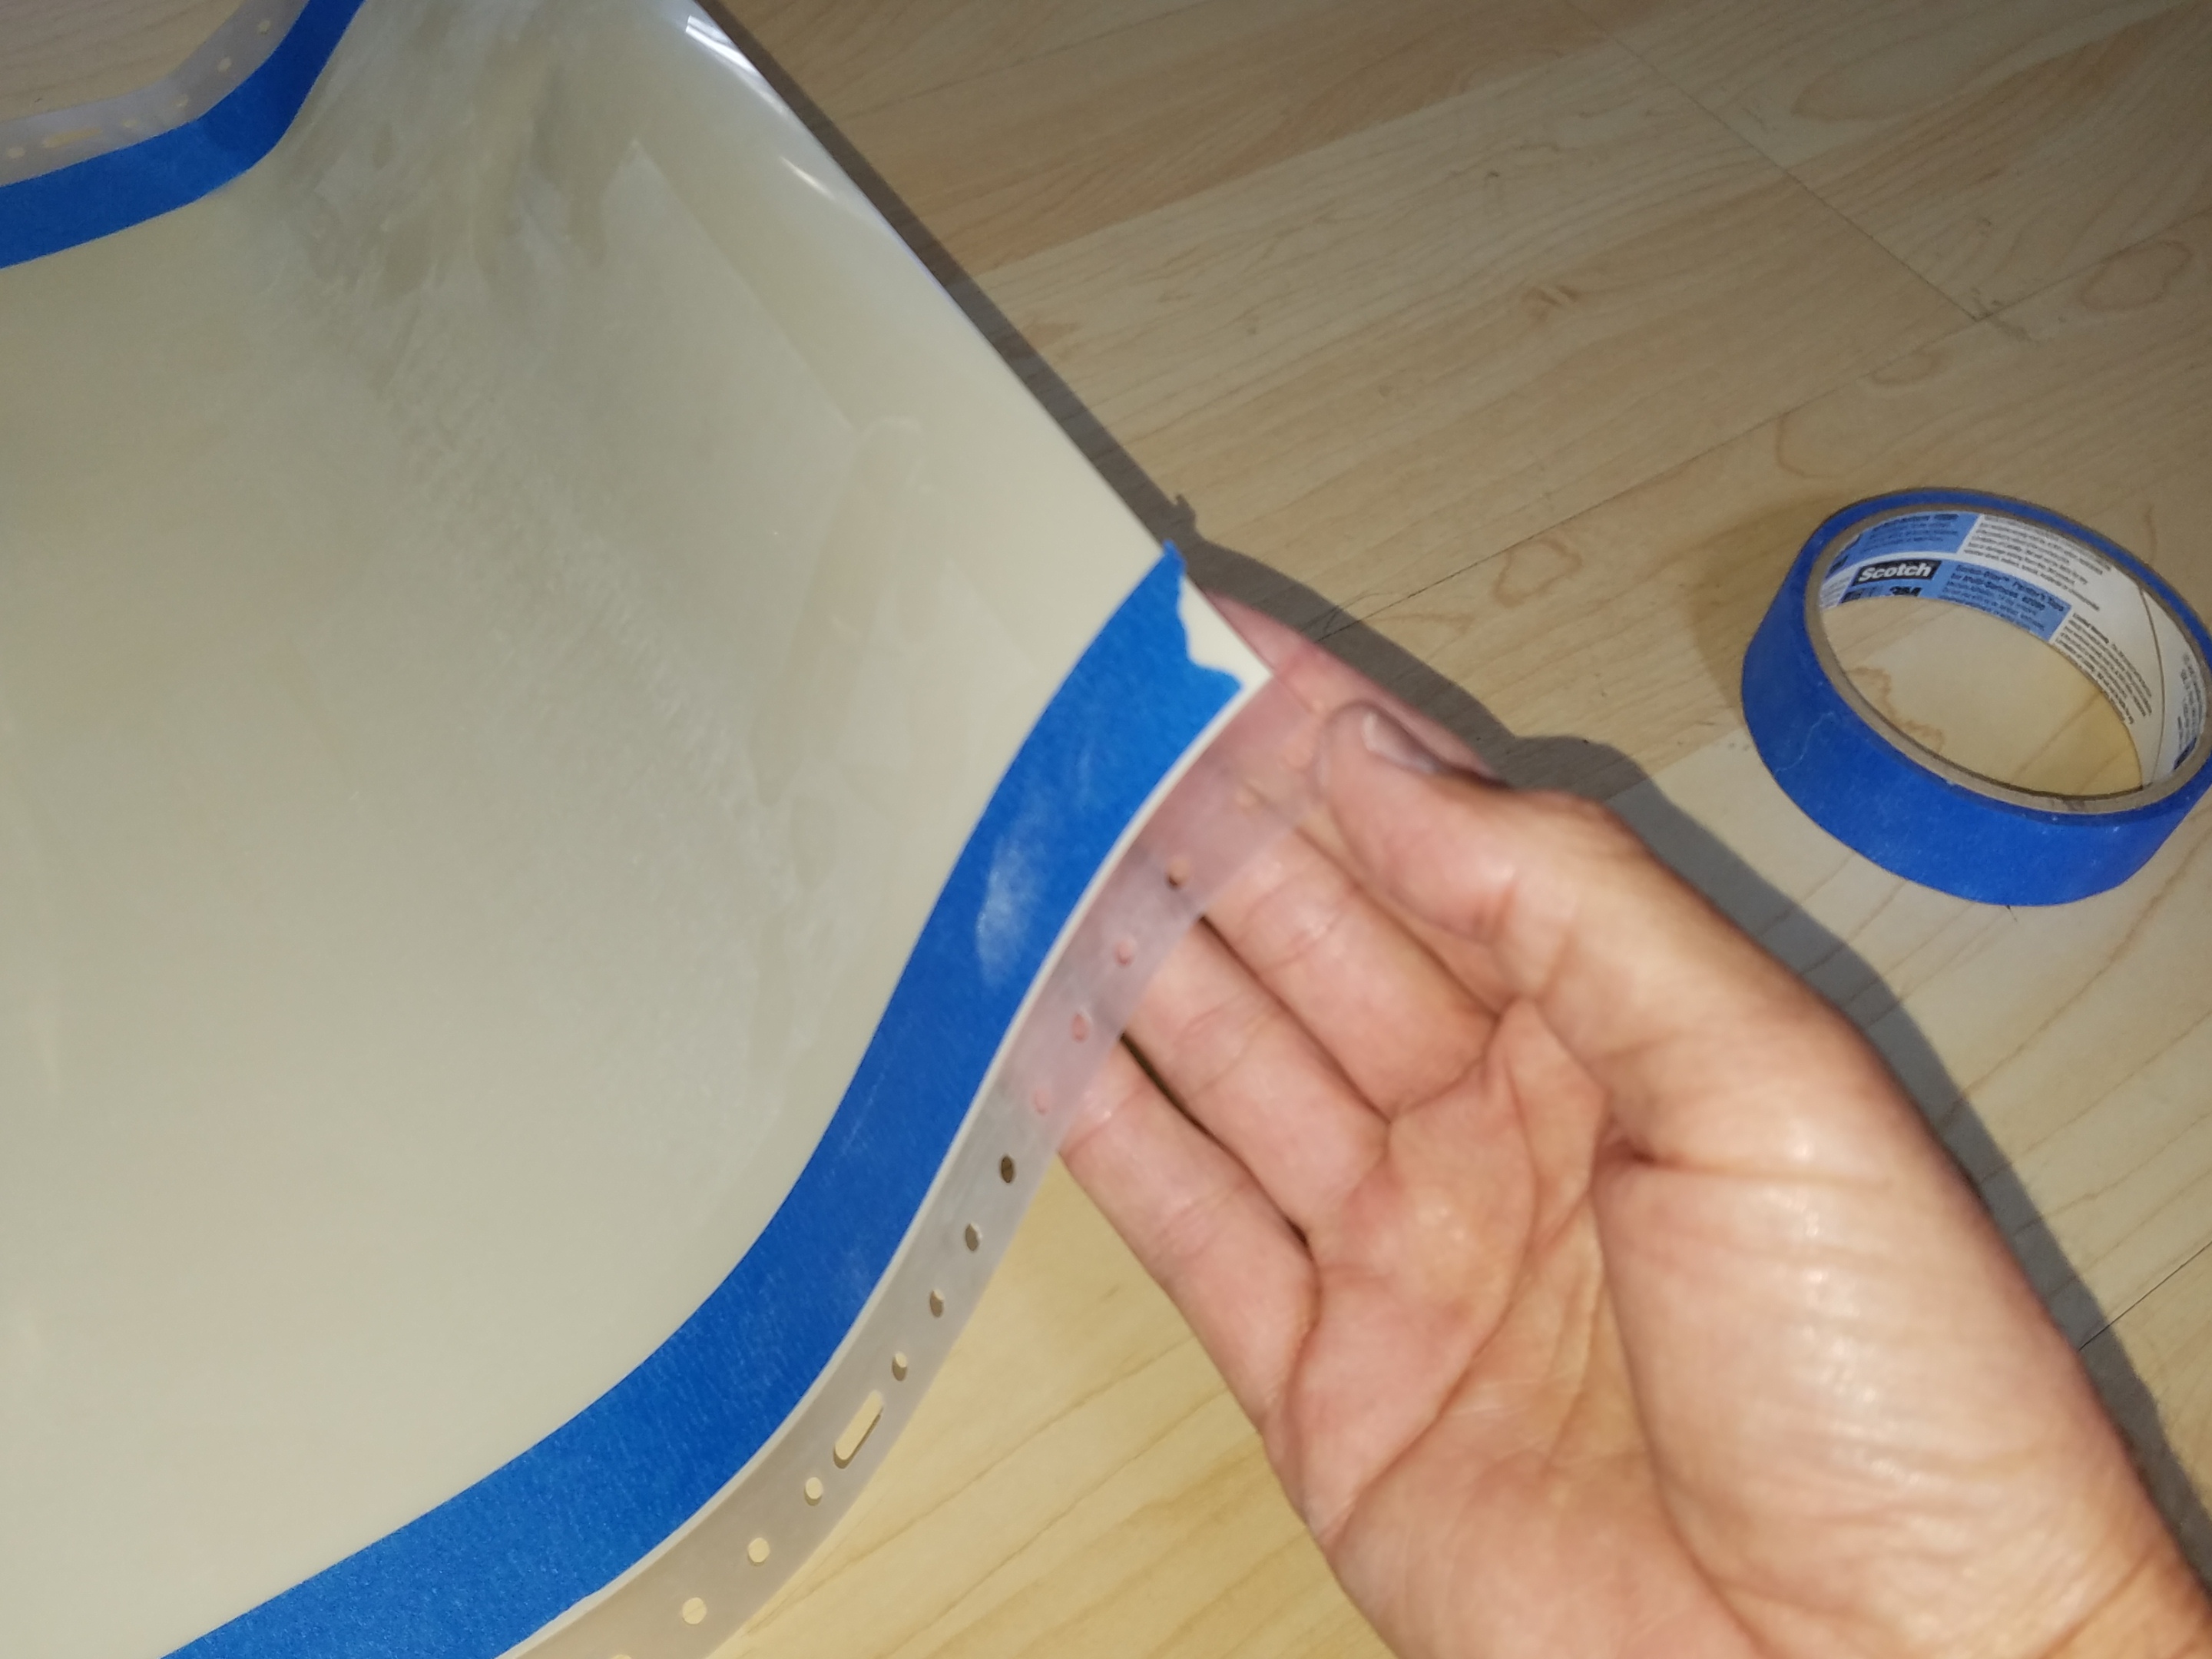
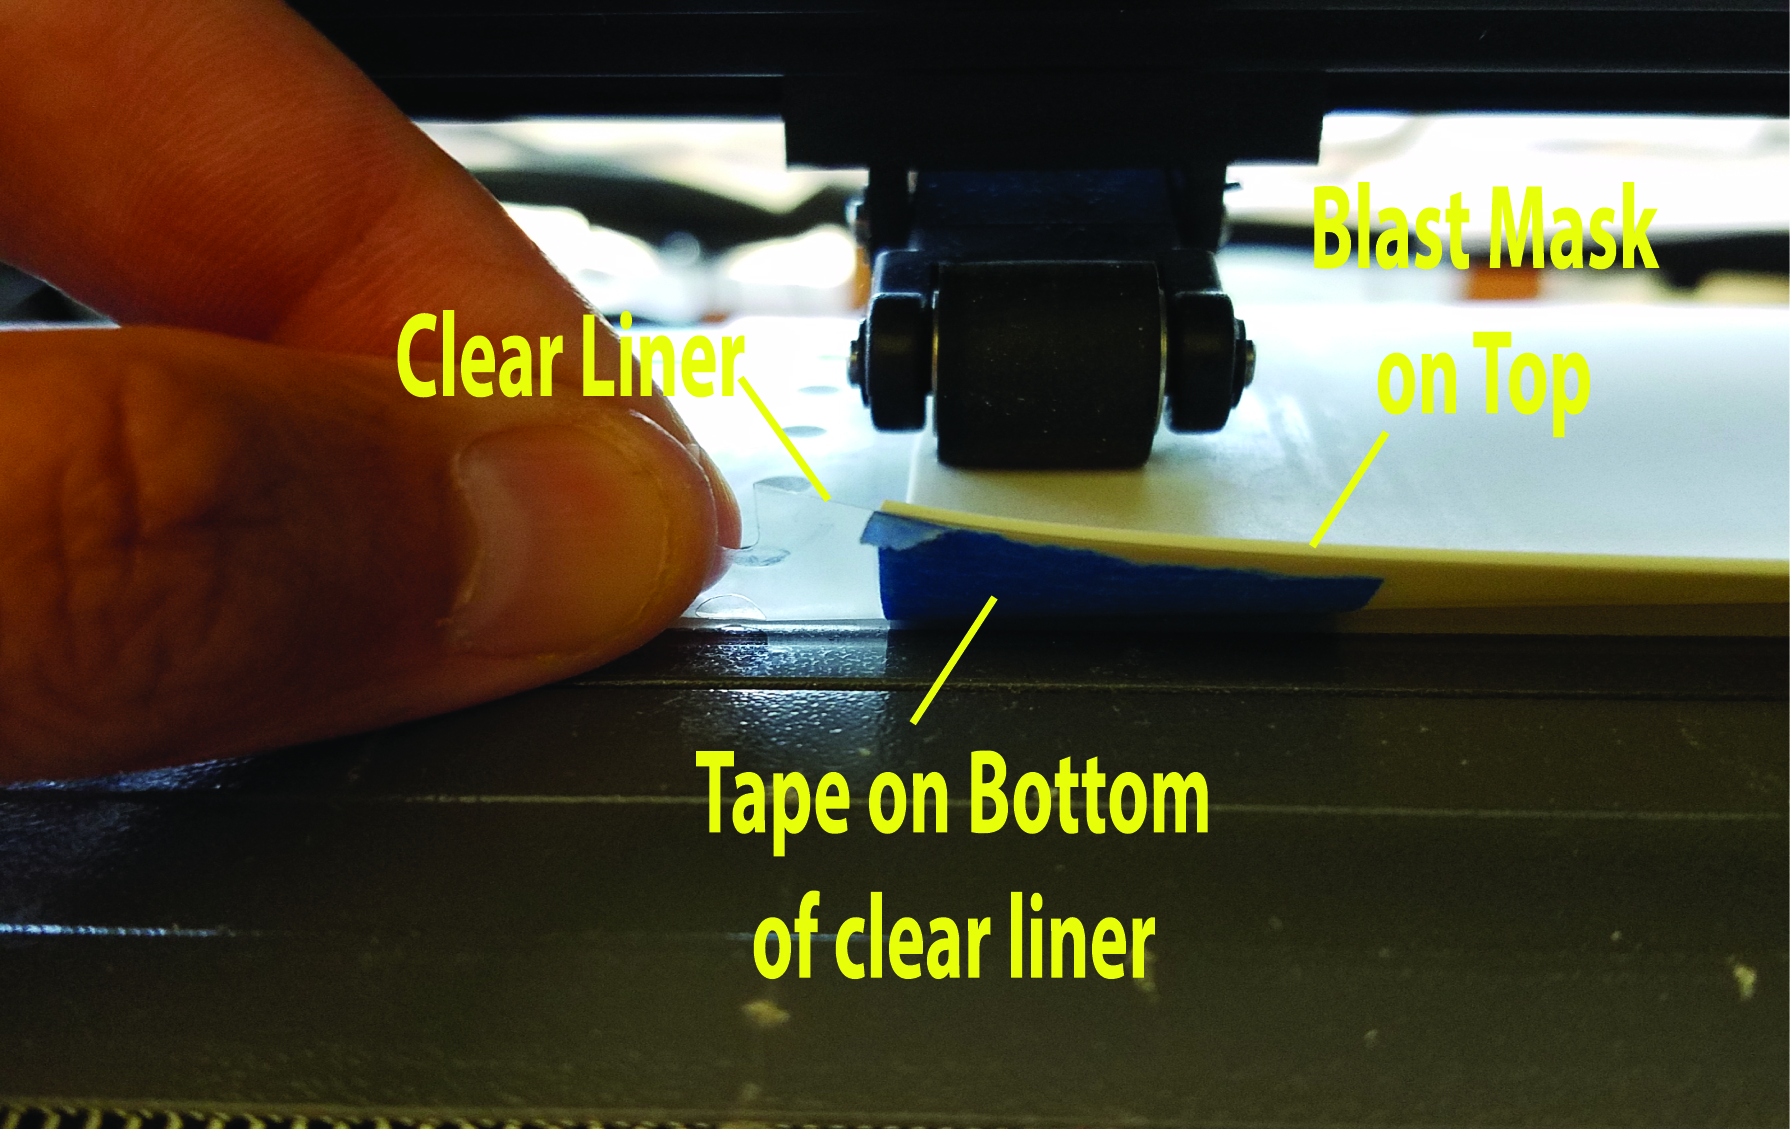
5) Grip is the ability of your cutter to bite into the release liner (or carrier material) repeatedly and track back along the bite marks accurately. Some material release liners such as the Blast Mask are very hard and give substantial resistance to the bite from your knurled rollers. To enhance the grip of your cutter to the Blast Mask release liner we recommend adding a layer of masking tape to the back portion of the Blast Mask to aid in grip for longer runs. Adding the masking tape to the release liner gives your cutter a softer material to bite into which substantially enhances the ability of the Magnum Force cutter to track accurately. The tape should only be placed along the length in the region that will line up with the knurled rollers. You can use any type of masking tape such as blue painter's tape. See picture below as an example:
In order to cut paper stencils as is very common in the garment industry, you will need a stencil cutter. These stencil cutters have the ability to cut through paper and leave small tabs to hold the stencil in place during cutting. They also have dual heads so they have the ability to do perforation cuts to perforate around decals. Stencil cutters can do everything a Magnum Force cutter can do and cut through the release liner.